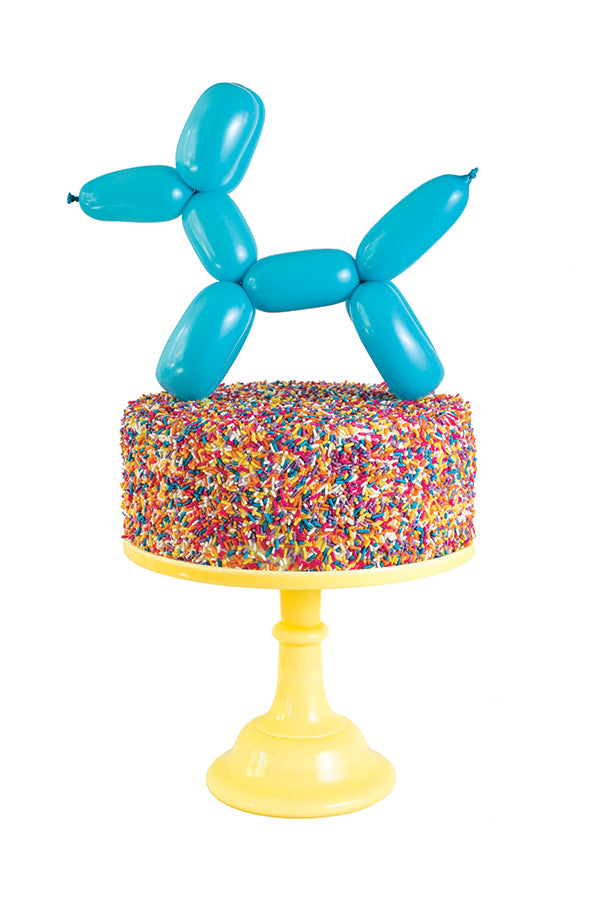
YAY! It's your special day! We love balloon animals so much we put them on shelves, walls, presents and even cakes! We wanted to make you smile so we made super easy and printable instructions for making one at home. Print them out and have fun!
*RIGHT CLICK > SAVE IMAGE AS...*

1. Take a #260 balloon and inflate it. At the tail end, leave 4 inches uninflated.
2. Now, from the nozzle end, twist the balloon for about six inches.
2. Now, from the nozzle end, twist the balloon for about six inches.
3. Now, squeeze the two parts of the folded balloon about 2 inches from the fold.
4. Twist the squeezed portion further; two or three twists should do the trick. These are the ears of the doggy, and the knot is its nose.
5. Now, for the front and back legs. They are made in the same way as the ears. Fold the balloon an inch below the twist that formed the ears. Twist the balloon to form the front legs of the dog.
6. Last but not the least, fold the balloon 2 inches away from the twist that formed the front legs. Now, twist. Your ballon dog is ready.

1. Take a size #260 long balloon. Inflate it leaving about 6 inches uninflated towards the end.
2. At the nozzle end, twist an inch of the balloon to make the nose of the monkey.
3. Next, make two similar (the one you made in the above step) twists in succession. Fold one to bring it at the same level as the second one, and pinch them together to make a ear.
4. Immediately after this, twist an inch of the balloon to make the forehead of the monkey and repeat the previous step to form the other ear. Align the twists appropriately to make the head of the monkey.
5. Following this, you will essentially carry out the steps you did to form the body of a balloon dog. Twist two inches of the remaining inflated balloon twice. When you lock these two, they form the front legs of the monkey.
6. Twist two inches of the remaining inflated balloon thrice. The first twist is the torso/body, and the remaining two when locked together form the hind legs. The remaining portion of the balloon is the tail of the monkey.
7. Inflate another balloon in a different color, which can be used as a pole for the monkey to hold on to.

1. Begin with a white 260, inflated leaving a 4″ tail. Bend the whole balloon into a large circle, bringing the knot to a point about 6-8 inches from the uninflated tail.
Flatten the circle by bringing the point opposite the knot across to the knot (see diagram below). Twist everything together at this point and make sure you hold on to the knot.
Flatten the circle by bringing the point opposite the knot across to the knot (see diagram below). Twist everything together at this point and make sure you hold on to the knot.
2. Your balloon should now look like the diagram below (two large loops with a long bubble sticking out from the joining point.) Squeeze one of the loops and tuck it through the center of the other loop. This is the swan’s body.
3. To make the head, fold the uninflated end of the balloon back along the balloon body. While holding the end in that position, squeeze the air from the main chamber around the bend in the balloon. This will make the balloon stay in a bent position creating a curve for the swan’s head.
4. Pull the neck back so that the friction of the twisted ends of the body loop hold it in place. And there’s your swan!

Toodles poodles!
